
How to Take Screenshot on Windows 11
Whether you’re saving a recipe, documenting an error message for tech support, or capturing a memorable moment from a video call, knowing how to take screenshot on Windows 11 is a fundamental digital skill. Windows 11 offers a surprisingly rich set of built-in tools, from simple one-button captures to powerful utilities with editing and video recording capabilities. In this guide, we’ll walk you through every method, helping you choose the right tool for the task at hand.
Essential Built-in Methods
The Print Screen Key (PrtScn): The Classic Method
The Print Screen button is the universal starting point for screen captures. Its function can vary based on your system settings.
- Basic Use (Copies to Clipboard): Pressing just
PrtScncaptures your entire screen and copies it to your clipboard. You then need to paste (Ctrl + V) it into an app like Paint, Word, or an email to save or use it. - Active Window Only: Press
Alt + PrtScnto capture only the currently active window, ignoring everything else on your desktop. - Automatic File Save: Press
Windows Logo Key + PrtScn. Your screen will dim briefly, and a PNG file is automatically saved to yourPictures > Screenshotsfolder. The image is also copied to your clipboard for immediate pasting.
Important Setting: In Windows 11, the PrtScn key is often set by default to open the newer Snipping Tool (see below). To revert it to the classic “copy to clipboard” behavior, go to Settings > Accessibility > Keyboard and turn off “Use the Print screen key to open screen capture”.
Pro-Tip: You can link your Print Screen key directly to OneDrive. In the OneDrive settings, check ‘Save screenshots I capture to OneDrive’. After this, pressing PrtScn will automatically save a timestamped PNG file to your OneDrive Pictures folder, making it accessible on all your devices.
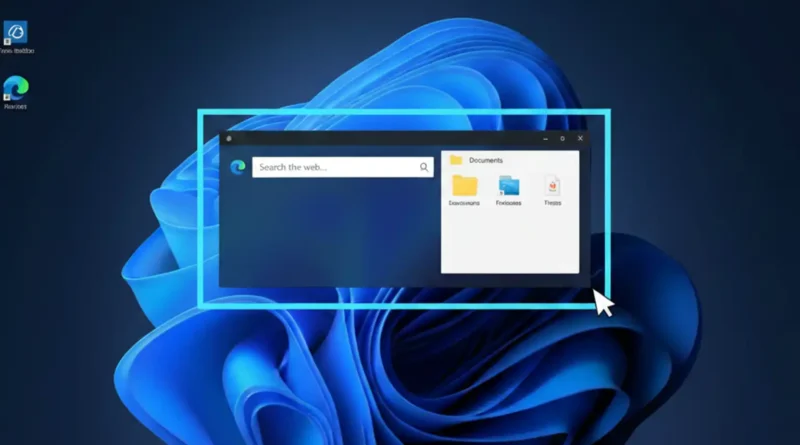
Snipping Tool: The All-in-One Powerhouse
The Snipping Tool in Windows 11 is the evolution and merger of the old Snipping Tool and Snip & Sketch app. It’s now the most versatile built-in option.
How to Open It:
- Quick Capture Shortcut:
Windows Logo Key + Shift + S. This dims your screen and shows a toolbar for selecting a capture type. - Full App: Search for “Snipping Tool” in the Start menu and open the application.
Capture Modes:
- Rectangular Snip: Drag to create a rectangle.
- Freeform Snip: Draw any shape with your mouse or finger.
- Window Snip: Click to capture a specific application window.
- Fullscreen Snip: Captures everything.
Why It’s Powerful:
After capturing, a thumbnail preview appears. Clicking it opens the editing window where you can:
- Annotate with a pen, highlighter, or shapes.
- Crop and rotate the image.
- Use Text Actions (OCR) to extract, copy, or redact text from the screenshot.
- Set a Delay of 3-10 seconds to capture tooltips or cascading menus.
- Record a video of a selected screen area.
For a deep dive into all its features, refer to the official Microsoft Learn article on the Snipping Tool.
Game Bar: For Gamers and Beyond
Designed for capturing gameplay, the Xbox Game Bar is also excellent for recording any screen activity.
How to Use It:
- Press
Windows Logo Key + Gto open the Game Bar overlay. - Click the Camera icon for a screenshot or the Record button to start capturing video (with optional microphone audio).
- Screenshots and videos are automatically saved to your
Videos > Capturesfolder.
Quick Shortcut: Press Windows Logo Key + Alt + PrtScn to take a screenshot instantly without opening the overlay.
Also read, How to Unlock Keyboard: 7 Quick Fixes
Alternative & Specialized Methods
Keyboard Shortcuts for Specific Devices
- Tablets/2-in-1s without Keyboard: On Microsoft Surface devices, press the Volume Up + Power button simultaneously.
- Keyboards without PrtScn: Some compact keyboards may require
Fn + Windows Logo Key + Space Bar.
Third-Party Tools for Advanced Needs
While Windows 11’s tools are robust, third-party applications like ShareX or SnagIt offer advanced workflows. They can automate captures, upload directly to cloud storage, and, crucially, take scrolling screenshots of entire web pages—a feature not natively available in Windows. You can find reputable reviews and comparisons of these tools on authoritative tech sites.
Comparison & Quick-Reference Table
| Method | Best For | Key Shortcut/Action | Where It Saves |
|---|---|---|---|
| Print Screen (PrtScn) | Quick, full-screen copies for pasting. | PrtScn or Alt + PrtScn | Clipboard only (must paste to save). |
| Win + PrtScn | Quick, saved full-screen images. | Windows Key + PrtScn | Pictures > Screenshots folder. |
| Snipping Tool | Precision captures, annotations, delays, video. | Win + Shift + S | Clipboard + opens in editor for saving. |
| Game Bar | Capturing gameplay or recording screen video. | Win + G, then click record | Videos > Captures folder. |
Frequently Asked Questions (FAQ)
Where do my screenshots go by default?
It depends on the method:
Windows Key + PrtScn:Pictures > Screenshots.- Game Bar:
Videos > Captures. - Snipping Tool: You choose the location when you first save, but you can set a default in its Settings.
- Plain
PrtScn: Only the clipboard. You must paste it into a program to save it.
Why does my Print Screen key open the Snipping Tool?
This is a new default in Windows 11. To change it, go to Settings > Accessibility > Keyboard and toggle off “Use the Print screen key to open screen capture.” It will then revert to copying the full screen to your clipboard.
Can I take a screenshot with a delay?
Yes, but only in the Snipping Tool app. Open the full app (not just the Win+Shift+S shortcut), click the Delay button, and choose 3, 5, or 10 seconds. This is perfect for capturing context menus.
How do I edit a screenshot after taking it?
The Snipping Tool provides the most straightforward editing. After capturing, click the thumbnail to open the editor where you can annotate, crop, and highlight. For more advanced edits like adding text or complex shapes, use the “Edit with Paint” option in the Snipping Tool’s menu. For foundational image editing skills, many reputable digital literacy guides are available online.
Conclusion: Choosing the Best Method
So, what’s the best way how to take screenshot on Windows 11? It’s all about context:
- For speed and simplicity: Use
Windows Key + PrtScnfor a saved file, or the classicPrtScnfor a quick clipboard copy. - For precision and editing: The Snipping Tool (
Win+Shift+S) is unrivaled. It’s the Swiss Army knife for most users, perfect for tutorials, documentation, and selective captures. - For gaming or screen recording: The Game Bar (
Win+G) is purpose-built and efficient.
We recommend mastering the Windows Key + Shift + S shortcut and exploring the Snipping Tool’s settings. This combination will elegantly handle about 90% of your screenshot needs. For everything else, you now have the complete picture.
For the latest updates on Windows 11 features, always check the official Microsoft Windows 11 support page.