
How to Clear Cache on a Windows PC
When your Windows PC starts to feel sluggish or persistently low on storage, one of the most effective and safest first steps is to clear cache on your PC. This guide provides definitive, step-by-step instructions to clear every major type of cache on your computer—from system files to browser data—helping you reclaim valuable disk space, resolve glitches, and restore performance.
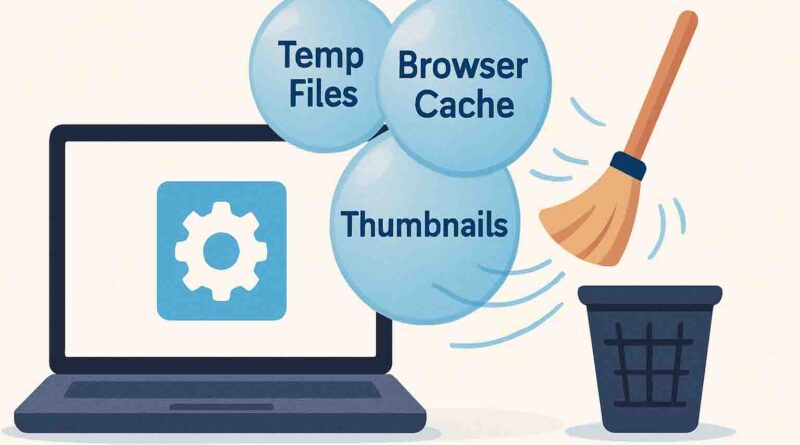
What is Cache and Why Clear It?
A cache is a collection of temporary data stored to speed up future tasks. Think of it as a computer’s short-term memory: your browser saves website images so pages load faster on your next visit, and Windows stores temporary files to help applications run more smoothly.
While beneficial, this data is not meant to be permanent. Over time, caches can grow large, become cluttered with outdated or corrupted files, and start causing the very problems they were designed to prevent. Clearing them offers three key benefits:
- Frees Up Disk Space: Temporary files can consume gigabytes of space.
- Solves Performance Problems: Corrupted cache can cause apps, browsers, or Windows itself to freeze, crash, or display errors.
- Enhances Privacy & Security: Caches can contain browsing history and cookies, which might retain session data or other information.
Choosing the Right Clearance Method
Different issues require clearing different caches. The table below will help you identify the right place to start.
| If You Want To… | Primary Method | Alternative/Automated Method |
|---|---|---|
| Free up general disk space quickly | Disk Cleanup Tool | Storage Sense (Settings App) |
| Fix website loading/display errors | Clear Browser Cache | – |
| Resolve network or connection issues | Flush DNS Cache | – |
| Fix Microsoft Store app downloads/errors | Clear Store Cache (wsreset.exe) | – |
Method 1: Clear System-Wide Cache with Built-in Windows Tools
For a general cleanup that targets Windows temporary files, update leftovers, and thumbnail caches, use these integrated utilities.
Using Disk Cleanup (The Classic Tool)
The Disk Cleanup tool is a powerful, built-in utility for a deep clean. To use it:
- Press the Windows key + R, type
cleanmgr, and press Enter. - Select the drive you want to clean (usually C:) and click OK.
- The tool will calculate how much space you can free up. Review the list and select items like “Temporary Internet Files,” “Windows Update Cleanup,” and “Thumbnails.” You can click on each item for a description.
- For a more thorough clean, click “Clean up system files.” You may need to select your drive again.
- After the new scan, you’ll see additional options, potentially including “Previous Windows installation(s)” which can free up a massive amount of space (but only do this if you’re sure you won’t roll back your Windows version).
- Check all boxes for the files you want to remove and click OK > Delete Files.
Using Storage Sense (Modern & Automatic)
Windows 10 and 11 offer Storage Sense, which can automatically clean temporary files. You can also run it manually.
- Go to Start > Settings > System > Storage.
- Turn Storage Sense On to let Windows automatically remove unnecessary files like temporary files and items in your Recycle Bin.
- For a manual run, click “Cleanup recommendations” (Windows 11) or “Configure Storage Sense or run it now” (Windows 10).
- Review the categories (Temporary files, Large files, etc.), select what you want to remove, and click the “Clean up” button.
Also Read, How to Unhide an App on iPhone
Method 2: Clear Your Web Browser Cache
A full browser cache is a common culprit behind websites not loading correctly, displaying outdated styles, or behaving strangely. The process is similar across major browsers.
Note: Clearing your cache will not delete your passwords or bookmarks, but you may be logged out of some websites. Websites might also load slightly slower the first time you revisit them as the cache rebuilds.
Method 3: Clear Advanced Caches
For specific technical issues, these targeted cache clears are invaluable.
Clear the DNS Cache
Your PC stores a local DNS (Domain Name System) cache to quickly translate web addresses (like www.example.com) into IP addresses. If this cache becomes corrupted, you may experience “page not found” errors or inability to connect to sites you know are online. Flushing it forces your PC to get fresh data from your DNS server.
- Type “cmd” or “Command Prompt” in the Windows search bar.
- Right-click Command Prompt and select “Run as administrator.”
- In the black window, type the following command and press Enter:bashipconfig /flushdns
- You should see the confirmation: “Successfully flushed the DNS Resolver Cache.”
Clear the Microsoft Store Cache
If you’re having trouble downloading or updating apps from the Microsoft Store, or if the Store app crashes, clearing its cache is a standard fix.
- Press Windows key + R to open the Run dialog.
- Type
wsreset.exeand press Enter. - A blank Command Prompt window will appear briefly and then close. Once it closes, the Microsoft Store will open automatically, indicating its cache has been reset.
Clear Delivery Optimization Cache
This feature allows Windows to get updates from other PCs on your local network or the internet. Its cache can sometimes grow very large.
- Go to Start > Settings > Windows Update > Advanced options > Delivery Optimization.
- Click “Advanced options.”
- Under “Activity monitor,” you will find the option to “Delete cached data.” Click the button to clear it.
Troubleshooting and Best Practices
Clearing the cache is generally safe, but here’s how to handle common situations and optimize the process.
- Will this delete my personal files? No. Clearing cache and temporary files targets system and application data, not your documents, photos, or videos.
- How often should I clear my cache? For most users, performing a cleanup with Disk Cleanup or Storage Sense once a month is a good maintenance habit. Clear your browser cache as needed when you encounter website issues.
- I cleared the cache, but my PC is still slow. A full cache is one possible cause of slowness. If problems persist, consider other factors like running a full antivirus scan, checking for too many startup programs, or ensuring your hard drive has adequate free space (more than 10-15% of its total capacity).
- Use Private Browsing for Sensitive Tasks: For the highest level of privacy during activities like online banking, use your browser’s Private Browsing (Incognito) mode. This mode doesn’t save cache, cookies, or history for that session.
By integrating these cache-clearing methods into your regular PC maintenance routine, you can ensure your Windows computer runs more efficiently, stays clutter-free, and avoids many common software glitches. Start with the Disk Cleanup tool for a comprehensive cleanup, and use the more specific methods as needed to address particular issues.